Visual Paradigm Desktop |
  Visual Paradigm Online
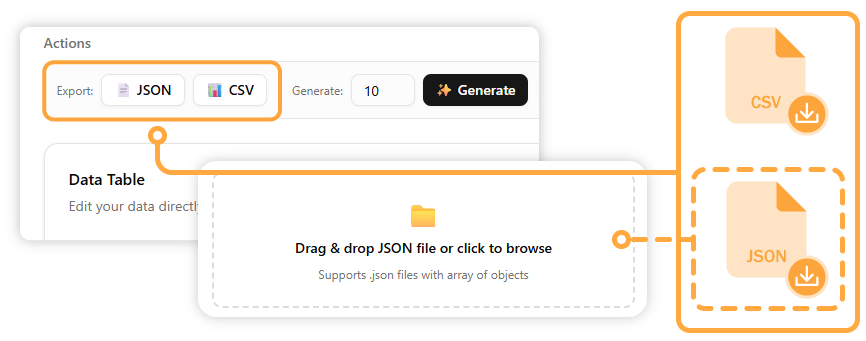
To get started, you first need to load a table. You can either start from an existing JSON array to load a table with data, or start from a schema to create an empty table with your defined fields.
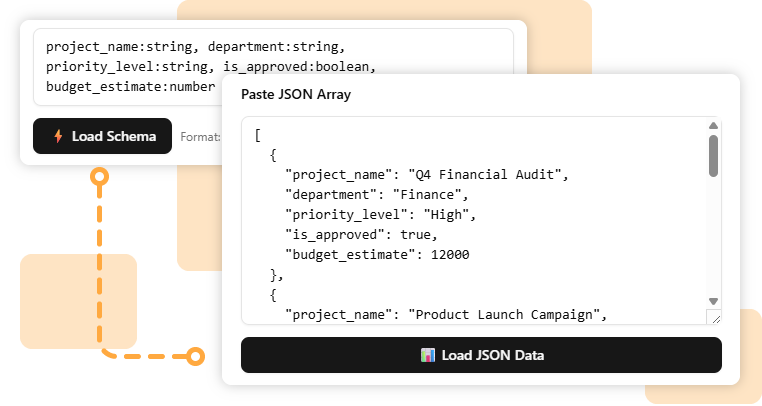
[
{
"project_name": "Q4 Financial Audit",
"department": "Finance",
"priority_level": "High",
"is_approved": true,
"budget_estimate": 12000
},
{
"project_name": "Product Launch Campaign",
"department": "Marketing",
"priority_level": "High",
"is_approved": false,
"budget_estimate": 25000
},
{
"project_name": "Server Infrastructure Upgrade",
"department": "IT",
"priority_level": "Medium",
"is_approved": true,
"budget_estimate": 18000
},
{
"project_name": "Supply Chain Optimization",
"department": "Operations",
"priority_level": "High",
"is_approved": false,
"budget_estimate": 30000
},
{
"project_name": "Employee Training Program",
"department": "HR",
"priority_level": "Low",
"is_approved": true,
"budget_estimate": 8000
}
]
project_name: string, department: [Finance|Marketing|IT|Operations|HR], priority_level: [Low|Medium|High]", is_approved: boolean, budget_estimate: number
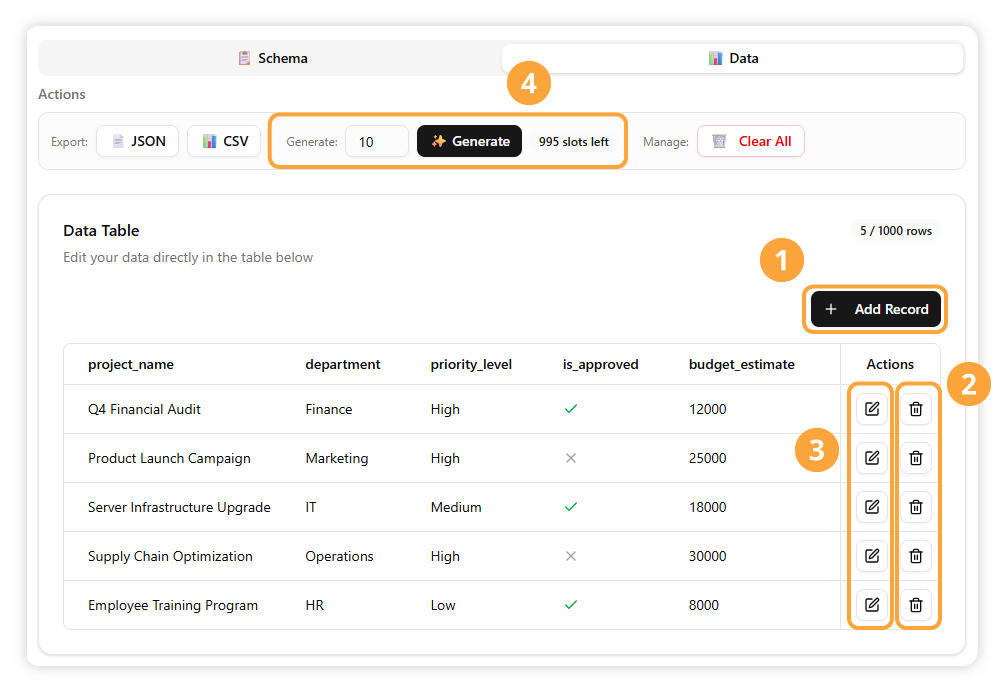
Insert a new, empty row into your table to input new data.
Remove a selected row from your table.
Open a dedicated editor pane where you can modify the row’s content.
Use AI to generate new data based on your table’s structure.
Sort your data by clicking on a column header.
For these data types, a simple text input box appears, allowing you to directly enter text or numbers.
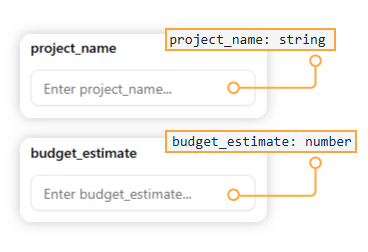
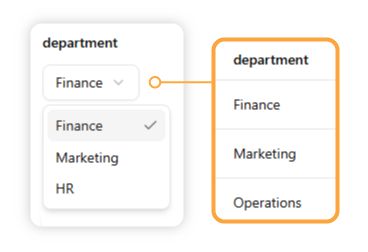
If your schema defines a list of options (e.g., priority:[low|medium|high]), a dropdown menu will appear, allowing you to select a valid option.
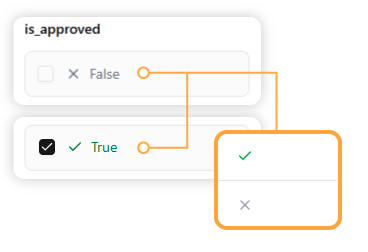
For boolean (`true`/`false`) fields, the editor provides a simple checkbox. In the table itself, this will be represented by a checkmark (✅) or a cross (❌) for easy readability.
Once you are finished editing, you can save your table in either a JSON or CSV file.